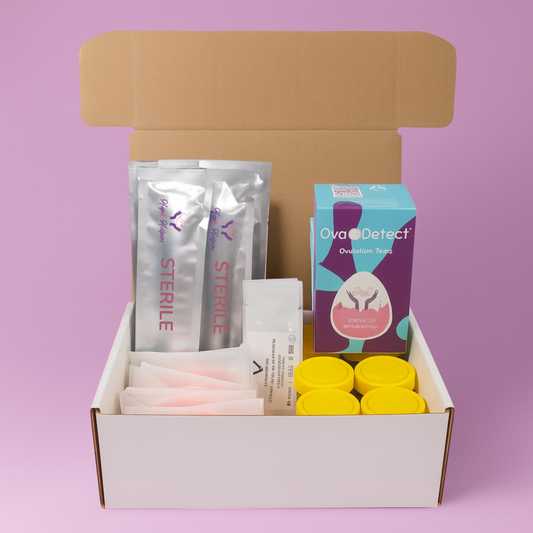
We have designed our kits in various sizes to support multiple attempts. Over and above the kits, we have additional products to assist you further, such as our Sperm Tests, Preseed lubricant, Ovulation thermometers, and more.
Below is a short, simple guide to using the kits. You can find a lot more in-depth blogs on various topics in our learning center.
Step 1: Track ovulation
Timing is the most important factor when trying to conceive.
How to do it:
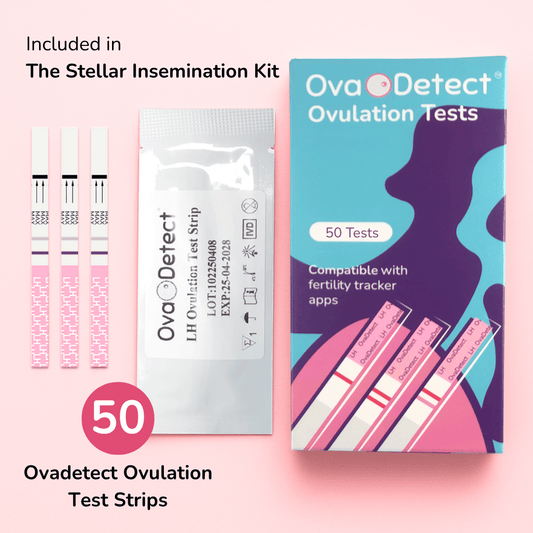
Begin testing your ovulation (LH) levels a few days before expected ovulation, typically around Day 10 of your cycle.
-
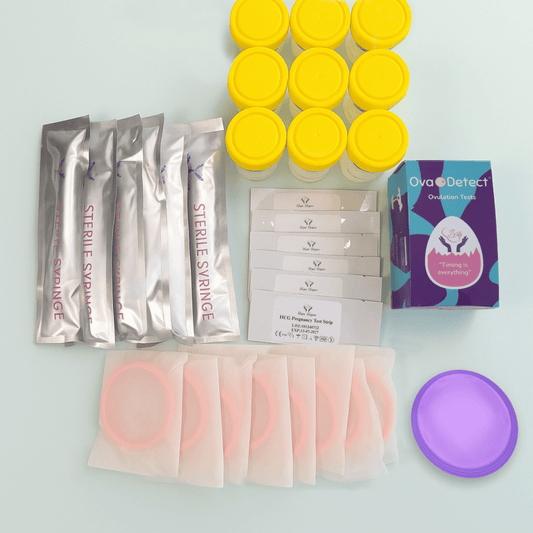
Collect urine in a sterile specimen cup.
-
Dip the ovulation strip for 5–10 seconds (do not pass the MAX line).
-
Lay the strip flat and wait 3–5 minutes.
A positive result means the test line is as dark or darker than the control line.
Ovulation usually occurs within 12–36 hours of a positive result.
Plan to inseminate on the day of the surge and, if possible, again the following day.
Step 2: Collect the Semen Sample
Have the donor or partner ejaculate into a sterile specimen cup provided in the kit.
Allow the semen sample to sit at room temperature for 15–30 minutes to let it liquefy, making it easier to draw into the syringe. The sample must be used within one hour of ejaculation.
Step 3: Prepare the Syringe
-
Use the round-tipped insemination syringe included in the kit.
-
Slowly draw the semen into the syringe.
-
Avoid drawing in air bubbles.
-
Keep the syringe upright and avoid touching the tip to maintain hygiene.
Round-tipped syringes are designed for smoother, more comfortable insertion.
Step 4: Insemination
Lie on your back in a comfortable position.
Elevate your hips slightly using a pillow (optional but recommended).
Gently insert the syringe into the vaginal canal.
Slowly press the plunger to release the semen near the cervix.
Remain lying down for 15–30 minutes afterward.
This helps sperm remain closer to the cervix.
Step 5: Insert a menstrual disc
Either the disposable or reusable disc can be used
This supports sperm retention near the cervix post-insemination.
How to insert the disc:
Pinch the disc in half.
Insert it into the vaginal canal, angling toward the tailbone.
Tuck the rim behind the pubic bone.
Leave in place for several hours or overnight if comfortable.
Step 6: Rest & recover
After insemination, stay lying down for 15–30 minutes to allow the sample to settle. Many people prefer to inseminate at night and then go to sleep, but if you’re inseminating during the day, simply avoid strenuous activity for a short period afterward.
Step 7: Pregnancy testing
Wait 10–14 days after ovulation before testing.
Use first-morning urine for best accuracy.
Dip the pregnancy test strip into a urine sample.
Wait 3–5 minutes for results.
Results:
One line = Negative
Two lines = Potential positive
If negative, but your period hasn’t started, test again in a few days.
How often should you try?
Inseminate on the day of your LH surge.
Repeat the next day if possible.
Continue across multiple cycles if needed (various-sized kits for several attempts).
Pro tips for success
Test ovulation twice daily during your fertile window.
Ensure semen is fresh and handled hygienically.
Avoid sperm-damaging lubricants (use fertility-friendly options only, such as Preseed).
Stay consistent across cycles.